

What Is the Quick Answer on Choosing a Paring Knife?
A 3.5-inch spear point paring knife handles about 95% of in-hand detail work in a home kitchen. It peels, trims, deveins, and scores with more control than any other blade you own. If you also want a small knife that works well on the cutting board, pair it with a 150mm Japanese-style petty knife. For most cooks, the standard spear point is the place to start.
What Does a Paring Knife Actually Do?
A paring knife is a detail tool. It handles every job too small, too fiddly, or too awkward for a chef knife. You use it where precision matters more than power, and where a full-size blade would be clumsy or dangerous.
The biggest difference between a paring knife and every other knife in your kitchen is this: you use it in your hand as often as you use it on the board. Peeling a potato means holding the potato in one hand and drawing the blade toward your thumb with the other. A chef knife cannot safely do this. The short blade and light weight of a paring knife give you total control over how deep you cut and how much material you remove.
That in-hand capability is the whole reason paring knives exist. Every other kitchen knife is designed around a cutting board. The paring knife is designed around your hands.
Which Tasks Does a Paring Knife Handle Better Than Any Other Knife?
1. Peeling fruit and vegetables. Potatoes, apples, ginger, kiwifruit, celeriac. Anything with an irregular shape where a peeler wastes too much flesh or can't follow the curves.
2. Deveining prawns. Slide the tip along the back of the prawn, lift out the vein. You need a sharp, narrow point and a blade short enough to control precisely. A chef knife is too long to do this comfortably.
3. Hulling strawberries. Insert the tip at an angle around the stem, twist, pop it out. Two seconds per berry. Try that with an 8-inch blade and you'll mangle half of them.
4. Segmenting citrus. Cutting supremes (those clean, membrane-free segments of orange or grapefruit) requires a blade short enough to follow the curve of the fruit precisely. This is one of those tasks where the right tool makes the difference between a beautiful result and a mess.
5. Trimming meat. Removing silver skin from a tenderloin, cleaning up fat pockets on pork shoulder, getting between rib bones. The short blade lets you work right at the meat surface without cutting deeper than you want.
6. Scoring. Crosshatch patterns on bread dough, diamond scoring on duck breast, shallow cuts in ham glaze. You need to control the depth of each cut to within a millimetre or two. The paring knife's size gives you that control.
7. Garnish work. Turning radishes into rosettes, making cucumber fans, carving tomato roses. Professional cooks doing garnish work almost always reach for a paring knife because no other blade offers the same fine-motor precision.
8. Mincing small quantities. One garlic clove, a single shallot, a small knob of ginger. You can mince these on the board with a paring knife faster than you can pull out and clean up a chef knife.
9. Testing doneness. Slide the tip into a cake, a potato, a piece of chicken. The thin blade goes in cleanly and gives you an accurate read on what's happening inside the food. This is one of those overlooked uses that happens every single cooking session.
What Are the Different Paring Knife Blade Types?
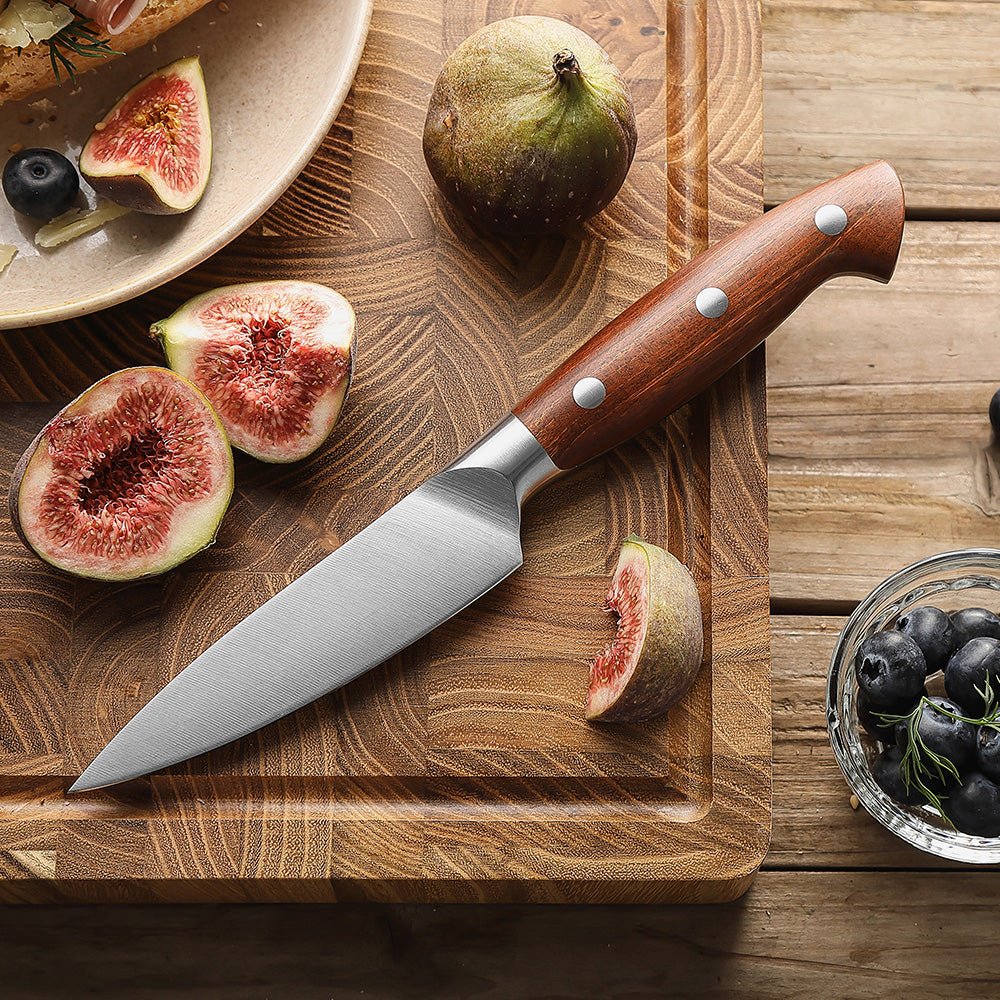
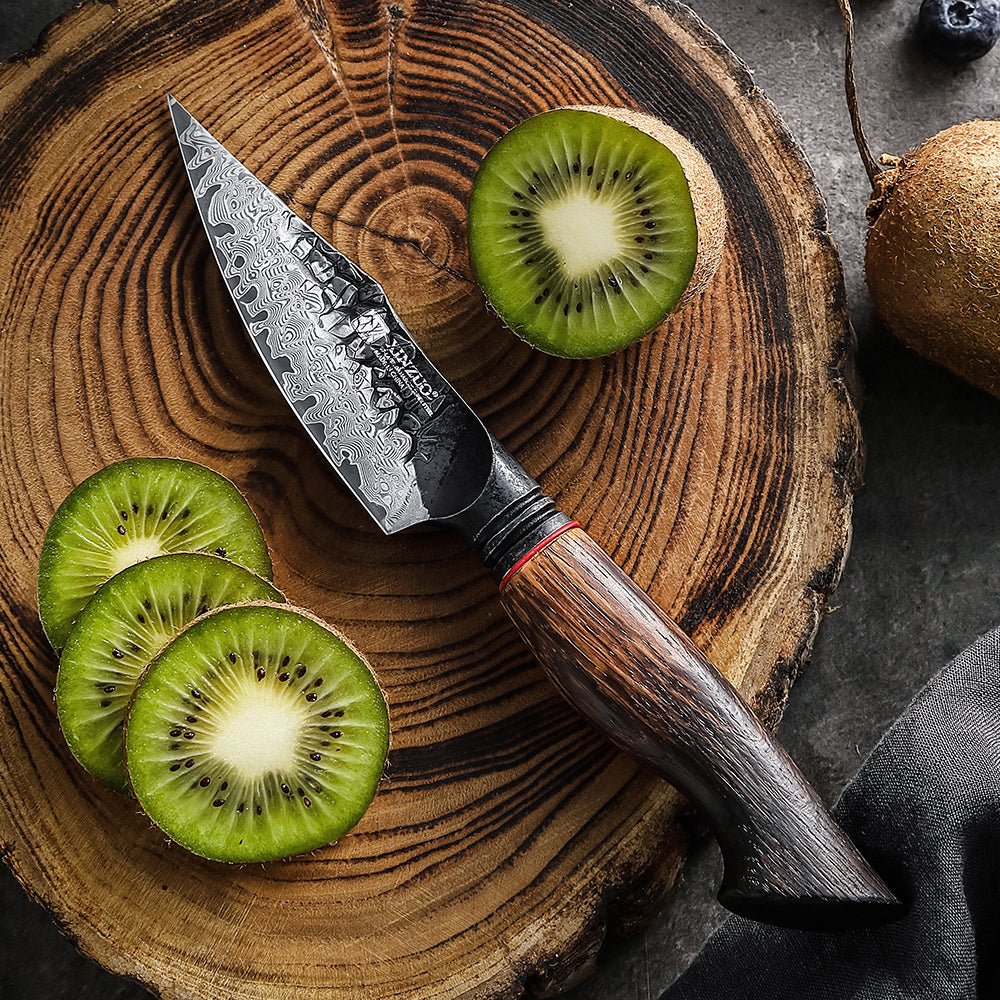
The spear point is the standard and the one most cooks should buy first. It works in your hand and on the board. The pointed tip gets into tight spots, and the straight edge makes clean contact with flat surfaces.
The bird's beak (also called a tourné knife) has a concave blade that follows the curved surface of round vegetables. Culinary students use them to practice tourné cuts, that classic French seven-sided barrel shape. Outside culinary school, very few home cooks need one. If you peel a lot of round produce, it's nice to have. Otherwise, skip it.
The sheep's foot has a completely flat cutting edge and a rounded tip. It makes clean, controlled cuts on the board, and the flat edge means the full length of the blade contacts the surface at once. The trade-off is the blunt tip: you lose the ability to pierce, devein, or do any pointed detail work. Some cooks prefer this for safety, especially in kitchens with less experienced staff.
What Is the Difference Between a Paring Knife and a Petty Knife?
This is where things get interesting for knife enthusiasts. A Japanese-style petty knife at 120-150mm looks like a miniature gyuto (chef knife). It has a thinner blade, a harder steel, and a flatter profile than a Western paring knife. On the cutting board, a petty knife is far more capable than a paring knife. The longer blade, flatter edge geometry, and thinner grind make it an excellent small prep knife.
But a petty knife is not a replacement for a paring knife. At 150mm (about 6 inches), it's too long for comfortable in-hand peeling. The thin, hard blade is also more fragile. You would not want to use a petty knife to pry open an avocado pit or twist into a strawberry hull. The paring knife's short, slightly flexible blade and tougher steel handle that kind of work without complaint.
The ideal setup for a serious cook is both: a 3.5-inch paring knife for in-hand work and a 150mm petty for board work. They complement each other perfectly. If you can only buy one, start with the paring knife. It covers more tasks. Our petty knife guide goes deeper into when the petty makes sense as your next purchase.
What Size Paring Knife Should You Choose?
3.5 inches is the industry standard for good reason. It's short enough to control completely in your hand and long enough to do some useful board work. A 3-inch blade feels cramped on the board and limits what you can cut. A 4-inch blade starts to overlap with utility knife territory, which isn't a bad thing if you want one knife to bridge that gap.
If you have smaller hands, the 3-inch might feel more natural. If you routinely prep larger items on the board with your paring knife, the 4-inch version earns its extra length. But for the average cook buying their first quality paring knife, 3.5 inches is the safest bet.
Which Grip Techniques Work Best for Different Paring Tasks?
How you hold a paring knife changes depending on what you're doing. This is one of the things that separates a paring knife from every other blade: it's designed to work with multiple grips.
The blade grip (in-hand peeling). Pinch the blade itself between your thumb and forefinger, close to the bolster. Your other three fingers wrap around the handle. The food sits in your opposite hand. You draw the blade toward your thumb in short, controlled strokes. This grip gives you maximum control over the cutting angle and depth. It's how professional cooks peel potatoes, apples, and pears.
The detail grip (precision cuts). Choke up on the blade even further, so your thumb and forefinger are on the blade about a third of the way from the tip. This is how you devein prawns, hull strawberries, and do fine garnish work. You're controlling a very small portion of the blade with high precision.
The standard pinch grip (board work). Same grip you'd use on a chef knife: thumb and forefinger pinching the blade just forward of the handle, remaining fingers on the handle. Use this when mincing garlic, slicing shallots, or doing any work on the cutting board. The knife works like a miniature chef knife.
What Handle Material Should You Choose for a Paring Knife?
The handle matters more on a paring knife than on most kitchen knives. You're gripping it in unusual positions, sometimes with wet hands, sometimes with oily fingers from the food you're peeling. The handle needs to stay secure in all of these conditions.
Wood (pakkawood, ebony, burnt oak). Warm to the touch, comfortable for long sessions, and naturally grippy even when wet. Pakkawood is stabilised wood that resists moisture better than raw timber. Burnt oak, like on the Mo Series, has a textured surface that improves grip. Wood handles look and feel premium, which matters for a knife you hold differently than any other.
G10 and Micarta. Composite materials that are nearly indestructible. They won't absorb moisture, they tolerate the dishwasher (though you shouldn't be putting good knives in the dishwasher), and they maintain grip whether wet or dry. G10 tends to feel slightly more "tactical," while Micarta has a more natural texture.
Polypropylene (PP) and rubber. The standard on commercial kitchen knives. Extremely grippy when wet, easy to sanitise, cheap to replace. If your paring knife lives in a professional kitchen and gets tossed in a sanitiser bucket at the end of every shift, this is the right material. For home use, wood or G10 will be more comfortable and more attractive.
Does Steel Quality Matter in a Paring Knife?
Honest answer: less than you'd think.
A chef knife lives on the cutting board for hours at a time. It hits the board surface thousands of times per session, and the edge degrades with every cut. Edge retention is a major concern, which is why higher-hardness steels (58-62 HRC) make such a difference in a chef knife.
A paring knife sees a fraction of that work. You pull it out for a few minutes of detail work, then put it back. The edge lasts longer because the knife simply does less cutting. German steel at 54-57 HRC takes a decent edge, is easy to sharpen at home, and is tough enough that the tip won't chip if you twist it against a bone or pry something loose.
Where premium steel does help is thinness. Higher-hardness Japanese steel can be ground thinner without becoming fragile. A thin paring knife slides through tomato skin or pear flesh with almost no resistance. That precision is the whole point of the tool, so the thinner grind that premium steel allows does make the knife more pleasant to use.
The practical advice: buy a good paring knife, but don't agonise over steel grades the way you might with a chef knife. Put your research budget toward getting the right chef knife, and let your paring knife be a supporting player. For a deeper look at what those steel numbers mean, see our knife steel and hardness guide.
What Maintenance Does a Paring Knife Need?
Because paring knives see less use than your chef knife, they need less maintenance. But "less" is not "none," and the smaller blade actually dulls in ways that are harder to notice. You might not realise the edge has gone until you struggle to peel a tomato cleanly.
After every use: Hand wash with warm soapy water, dry immediately with a towel, store in a block or on a magnetic strip. Never leave a paring knife sitting in the sink. The small blade hides under other dishes, and someone reaching into the water can get a bad cut.
Every 2-3 weeks: A few light passes on a ceramic honing rod. This realigns the edge without removing metal. Most home cooks forget to hone their paring knife because it feels like a minor tool. Get into the habit of honing it at the same time you hone your chef knife.
Every 3-6 months: Sharpen on a whetstone or send it out for professional sharpening. A paring knife that gets used a few times per week will hold its edge for months. If you notice it struggling with tomato skin, it's time.
Annually: Inspect the handle for cracks or looseness, check the blade for any chips near the tip (the most common damage point on a paring knife), and give the whole knife a thorough cleaning including the area where the blade meets the handle. For a more detailed maintenance routine, see our daily knife care guide.
Where Does a Paring Knife Fit in Your Knife Collection?
Chef knife first, paring knife second. That's the order for building a knife collection, and it's been the consensus among professional cooks and culinary instructors for decades. If you already have a solid chef knife, a paring knife is the next purchase that will improve your cooking the most. After the paring knife, consider a utility knife or a bread knife to round things out. For a full breakdown, see our guide to building a home knife collection.
The paring knife covers the gap below 5 inches that no other knife fills. Your chef knife handles the big work. Your utility knife handles the medium work. Your paring knife handles everything small, detailed, and in-hand. There's no overlap if you buy the right sizes.
If you're debating between sets and individual knives, our comparison of knife sets vs. individual knives will help you decide. And if you're working with a budget, our best kitchen knives under $200 guide shows where to put your money for the biggest impact.
Related Reading
- Petty Knife Guide: The Japanese Utility Blade
- Utility Knife Buying Guide
- How to Choose a Chef Knife: The Complete Buying Guide
- Essential Knives for the Home Cook
- Knife Steel and Hardness Guide
- Knife Care: Daily Maintenance Guide
- Kitchen Knife Sets vs. Individual Knives
- Best Kitchen Knives Under $200
Frequently Asked Questions
What is a paring knife used for?
A paring knife handles detail work too small or awkward for a chef knife: peeling fruit and vegetables, deveining prawns, hulling strawberries, segmenting citrus, and trimming silver skin from meat. The short blade (typically 75 to 100mm) gives you precise control for in-hand cutting, where you hold the food in one hand and draw the blade with the other.
What is the difference between a bird's beak and a straight paring knife?
A straight (spear point) paring knife is the all-rounder, good for both cutting board work and in-hand tasks like peeling and mincing garlic. A bird's beak paring knife has a concave, curved blade designed specifically for turning vegetables and peeling round produce where a straight blade can't follow the contour. Start with a straight blade; add a bird's beak later if you do a lot of decorative work or tourné cuts.
What size paring knife should I buy?
A 3.5-inch (90mm) blade is the standard and handles about 95% of paring tasks. A 3-inch blade gives slightly more control for very fine work like scoring bread dough, while a 4-inch blade adds reach for larger fruit. If you also need a small knife that works well on the cutting board, consider pairing your paring knife with a 150mm petty knife rather than sizing up.
Do I need a paring knife if I already have a chef knife?
Yes, because a chef knife cannot safely do in-hand work. Peeling a potato, deveining a prawn, or hulling strawberries all require holding the food in one hand and cutting toward your thumb with the other. A 200mm blade is too long and heavy for that. A paring knife is typically the second knife every home cook should buy after a chef knife.
How do you sharpen a paring knife?
Use a whetstone (1000 grit, then 3000 grit) at 12 to 15 degrees per side for Japanese-style paring knives or 15 to 20 degrees for Western steel. The small blade makes freehand sharpening tricky, so grip the blade close to the edge and use short, controlled strokes. Avoid pull-through sharpeners, which remove too much steel from a blade this small.